Written by Purple Giraffe Press, a children's book publishing team supporting authors with picture book formatting and print preparation for platforms such as Amazon KDP and IngramSpark. Last reviewed: September 2026.
You've finished the manuscript. Now you're staring at a blank document in Canva or InDesign, and nobody told you what goes on page 1, where the story starts, or whether your trim size will even be accepted by your print platform.
That gap between "finished manuscript" and "print-ready file" trips up almost every first-time picture book creator. Advice online is scattered: one blog covers page counts, another explains binding, a third throws around terms like signature, self-ended, and bleed without defining them. Then a proof copy arrives and the text has disappeared into the spine.
Picture book format is the physical and structural blueprint that turns a manuscript into a real, printable book: page count, trim size, spreads, front and back matter, bleed. Get it right before you illustrate, and you save rework, money, and an amateur-looking result. Get it wrong, and you usually find out after the proof arrives.
This guide covers the 32-page standard, a full page-by-page map, trim size and platform specs, bleed and gutter measurements, layout patterns, page-turn pacing, and a print-ready export checklist, so your file passes platform review on the first try.
Picture books are one genre among many in children's publishing; if you're still working out where your story fits, our breakdown of children's book genres is worth a read first. Purple Giraffe Press works with authors and illustrators through every stage of this process, from manuscript to print file.
What Picture Book Format Is and Why It Matters
Format is everything between "finished manuscript" and "printable file": page count, trim size, spread layout, front and back matter, bleed, binding. These decisions get made before illustration and layout begin, not patched in afterward, and they determine how many spreads you have for story, how art sits on the page, and whether your file passes platform review.
If you're still nailing down the fundamentals, our article on what a picture book is is a useful starting point before pagination.
Traditionally aspiring and self-publishing authors both need this, for different reasons. A traditionally aspiring author builds a paginated "dummy," rough sketches and marked page turns, because that's what a publisher evaluates. A self-publisher needs a fully print-ready file, correct trim size, embedded fonts, bleed, minimum page count, because that's what KDP or IngramSpark checks before printing a copy. The structural rules are the same; only the end deliverable changes. Planning to submit to publishers instead? Read how to find a children's book publisher before building a dummy, or see our book publishing overview for the self-publishing path.
The 32-Page Standard and Printing Signatures
Picture books are almost always 32 pages, and that number isn't arbitrary. It comes from how books are physically printed and bound.
Books print on large sheets, then get folded and trimmed. Each folded sheet creates a "signature," typically 8 pages. Because pages are imposed and folded in signatures rather than printed one at a time, total page counts have to come in multiples of 8:
24 pages: very short books, board book adaptations
32 pages: the industry standard for most picture books
40 pages: slightly longer stories or extensive back matter
48 pages: longer narrative or nonfiction picture books
Whether you call it a booklet page layout or a picture book format, the print logic doesn't change: pages are imposed in signatures, not printed one sheet at a time.
Here's what catches people out: 32 pages doesn't mean 32 pages of story. Front matter and back matter eat several pages between them, leaving roughly 12 to 14 story spreads. Every one of those spreads has to earn its place.
Expert tip: stick to 32 pages for your first book. It's the industry standard, works on both KDP and IngramSpark, and leaves roughly 12 to 14 story spreads after front matter.
Front Matter, Story Pages, and Back Matter: The Complete Page Map
Here's the 32-page blueprint, a page-by-page map so you can plan your entire book in one sitting.
Pages 1 to 4: Front Matter
Page 1 (right): half-title page, title only, minimal design. Often omitted in self-publishing, standard in traditional editions.
Page 2 (left): usually blank, or a small frontispiece illustration.
Page 3 (right): title page, full title, author and illustrator names, publisher imprint if applicable.
Page 4 (left): copyright page, ISBN, edition info, credits. Dedication often sits here or on a facing page.
Expert tip: start your story on page 4 or 5, not page 1. That gives the title page, copyright, and dedication room, and the opening spread feels intentional rather than rushed.
Pages 5 to 28 (or 30): Story Spreads
The story begins on a right-hand page, typically page 4 or 5, since that's where a spread opens. The remaining pages form roughly 12 to 14 two-page spreads. Each spread is a single visual unit, the left page (even) and the right page (odd), read together, so design it as one composition, not two unrelated halves.
Final Pages: Back Matter
Pages 29 through 32 (or 31 to 32) may include an author or illustrator note, simple activities, a glossary, an "About the Author" page, or blank end pages. In self-ended hardcover construction, covered below, these final pages become glued-down endpapers and can't carry printed story content.
The 32-Page Book Map Template
Copy this table into a spreadsheet and fill in the text and illustration columns as you paginate. The page-turn cue column is explained in the pacing section below.
Page | L/R | Content Zone | Text / Description | Illustration Notes | Page-Turn Cue |
1 | R | Half-title | Title only | Minimal or none | none |
2 | L | Blank / frontispiece | none | Optional spot art | none |
3 | R | Title page | Full title, author, illustrator | Title art | none |
4 | L | Copyright + dedication | Copyright, ISBN, dedication | None or small ornament | none |
5-6 | R+L | Story spread 1 (opening) | Fill in opening line | Fill in opening scene | end on anticipation |
7-8 | R+L | Story spread 2 | Fill in your text | Fill in illustration notes | fill in as you paginate |
9-26 | R+L | Story spreads 3-11 | Repeat this row per remaining spread | One illustration note per spread | fill in per spread |
27-28 | R+L | Story spread 12 (climax) | Fill in your text | Fill in illustration notes | end on the climax turn |
29-30 | R+L | Final spread / resolution | Fill in closing text | Fill in closing scene | resolution |
31 | R | Back matter | Author note, activities, or "About the Author" | Optional | none |
32 | L | Blank / endpaper | none, or decorative pattern if self-ended | None | none |
Build a fillable version of this same six-column template in a spreadsheet and keep it open while you paginate.
Trim Size Options: Square, Portrait, and Landscape
Trim size is your finished book's physical dimensions. It affects how art sits on the page, how the book feels in a child's hands, and whether your print platform will accept the file.
8.5 x 8.5 inches (square): the safest all-round choice. KDP supports both 8.5 x 8.5 and 8.25 x 8.25 for paperback; check IngramSpark's current specs against your exact size before committing.
8 x 10 inches (portrait): a common traditional size, suits vertical illustrations and stories with upward movement.
Landscape sizes: wide format for panoramic art. KDP supports an 8.25 x 6 inch landscape paperback trim. IngramSpark has added an 11 x 8.5 inch landscape option for Premium Colour books specifically, at a noticeably higher print cost, so compare current sample pricing before committing.
Other sizes: 8.5 x 11, 6 x 9, and custom dimensions exist; check platform support before designing around one.
Expert tip: if you're unsure, choose a square trim in the 8.25 to 8.5 inch range. Square formats have the broadest platform support and read instantly as a picture book.
Weigh illustration orientation, platform support, distribution goals (a size both platforms accept saves reformatting later), and cost, since larger and landscape formats increase print cost and can affect royalty margin. Trim specs change periodically, so verify current supported sizes before finalising your document setup.
Your trim size choice also shapes your cover, since spine width shifts with page count and cover proportions follow trim size. Our book cover design service handles wrap, spine, and jacket together, and how to design children's book covers is a good primer if you're doing it yourself.
Bleed, Margins, Safe Zones, and the Gutter
Four spacing concepts decide whether your art and text survive printing and binding intact.
Bleed is the area beyond the trim edge where background art extends, so no white border appears once the page is trimmed. Standard bleed is 0.125 inches on outer edges for both platforms, though IngramSpark asks for a larger bleed, around 0.625 inches, specifically on hardcover files. Extend background art all the way to the bleed line on any full-bleed spread; it can't simply stop at the trim line.
The safe zone is the area inside the trim edge where important text and art must stay, so nothing gets cut off during trimming. Keep it at least 0.25 to 0.5 inches inside the trim edge.
The gutter is the inner spine area where the two pages of a spread meet. Art or text placed there gets swallowed by the binding. Keep important content out of the gutter entirely, with a wider inner margin, often 0.375 to 0.5 inches or more on thicker books, to account for binding loss.
Picture a single two-page spread with all four zones marked: bleed on the outer edges, the trim line just inside that, the safe zone further in, and the gutter running down the centre spine. That image matters more than any single measurement, since it shows how the zones stack from the outside in.
Every book page picture your illustrator delivers should already respect these measurements before it reaches layout; catching a gutter problem after the art is finished costs far more than building the constraint in up front. If you're commissioning art rather than illustrating it yourself, our custom illustrations team works to these specifications from the first sketch. Exact margins vary by page count and binding type, so confirm current platform guidance before finalising your file.
Layout Patterns: Full-Bleed, Vignette, Spot, and Panel
A 32-page book with the same layout on every spread reads as visually flat. Varying layout patterns creates rhythm and draws attention to key moments.
Full-bleed spread: art extends to the bleed line on all edges. Best for immersive, scene-setting moments.
Vignette: a self-contained illustration with a soft or defined edge, surrounded by white space. Best for quieter moments or comedic timing.
Spot illustration: a small, isolated image on a white background. Best for emphasising a single element or breaking up text-heavy pages.
Panel: a framed or bordered illustration, sometimes several on one spread. Best for sequential action or showing time passing.
Expert tip: vary your patterns deliberately. Mix full-bleed spreads, vignettes, and spot illustrations so the book doesn't feel visually repetitive across 32 pages.
A well-paced book might open full-bleed to establish setting, use vignettes for quieter character beats through the middle, drop in spot illustrations for humour, and return to full-bleed for the climax. Pattern choice should always serve the story beat.
For technique, once you know which patterns you want, children's book illustration covers the craft in more depth, and how to choose a children's book illustrator walks through what to look for if you haven't found one yet.
Planning Page Turns and Pacing Across Spreads
In a picture book, the page turn is a scene break or punchline pause. It creates suspense, reveals surprises, and controls the rhythm of the read-aloud experience.
Expert tip: use page turns for suspense. End a spread on a question, a surprise, or an unfinished action, so the child wants to turn the page.
To map page turns in your own book: mark every spread's final line or image, then ask whether it ends on tension, surprise, or anticipation. If not, move text or art so the reveal lands on the next spread instead. Read aloud and turn the page at the end of each spread to test whether the pause feels earned. Adjust your book map's page-turn cue column to match.
Two examples make this concrete. A spread showing a character approaching a dark cave, ending "She took one step inside…", saves the reveal for the next spread; placing the cave interior on the same spread kills the suspense. A spread showing friends preparing a surprise party, ending "Everyone was ready…", saves the birthday character's reaction for the next spread; showing it on the same page flattens the surprise.
Simple storyboard or index cards, one per spread, rearranged physically before you commit to layout, turn pacing from guesswork into a testable process.
Self-Ended vs Separate-End Construction
In hardcover picture books, the binding method decides whether the first and last pages of your book block are available for printed content, or glued down inside the cover as endpapers.
Self-ended construction: the first and last pages of the book block glue directly to the inside of the hardcover as endpapers. They typically can't carry story content, though they can carry decorative art, and this reduces your available story pages.
Separate-end construction: separate endpaper sheets glue to the cover, and the full book block stays available for printed content.
Here's what catches out a lot of first-time hardcover creators: KDP's print hardcover option currently has a minimum page count of 75 pages, well above the 32-page standard, so a standard 32-page picture book can't be produced as a KDP hardcover at all. IngramSpark, which offers case laminate and jacketed case laminate binding, is currently the realistic route. Paperback printing on either platform doesn't use self-ended construction the same way; paperback covers are glued separately to the book block, so all 32 pages stay available regardless of binding.
Expert tip: if you're producing a hardcover, confirm which platform actually supports your target page count before finalising your page map.
Print Platform Requirements: KDP vs IngramSpark
KDP and IngramSpark are the two dominant print-on-demand platforms for self-published picture books. Requirements differ on page count minimums, trim size, and bleed, so treat this table as a quick reference and verify current figures before exporting.
Specification | Amazon KDP | IngramSpark |
Minimum page count (paperback) | 24 pages | 24 pages (verify current minimum) |
Minimum page count (hardcover) | 75 pages | Lower than KDP's; verify before planning a 32-page hardcover |
Page count divisibility | Even page count required | Even page count required |
Square trim support | 8.25 x 8.25 and 8.5 x 8.5 inches (paperback) | Verify current square options against official specs |
Landscape trim support | 8.25 x 6 inches (paperback) | 11 x 8.5 inches, Premium Colour only, higher cost |
Standard bleed | 0.125 inches | 0.125 inches standard; roughly 0.625 inches for hardcover files |
Hardcover binding | Case laminate | Case laminate or jacketed case laminate |
File format | Print-ready PDF | Print-ready PDF |
Interior colour printing | Premium colour available for children's books | Standard and premium colour options available |
A standard 32-page book fits within KDP's paperback minimum, but not its hardcover minimum. KDP doesn't require a proof purchase, but ordering one anyway is worth it, to check gutter and margin issues in the physical object rather than on screen. IngramSpark's jacket and case laminate hardcover options suit a standard-length hardcover better, and its broader trim and binding options work well for bookshops and libraraies, not just online sales; it typically charges a setup fee per title, though promotional codes often waive this.
If coordinating accounts and file prep feels like one more job on top of writing and illustrating, our children's book printing service handles the platform-specific work for you.
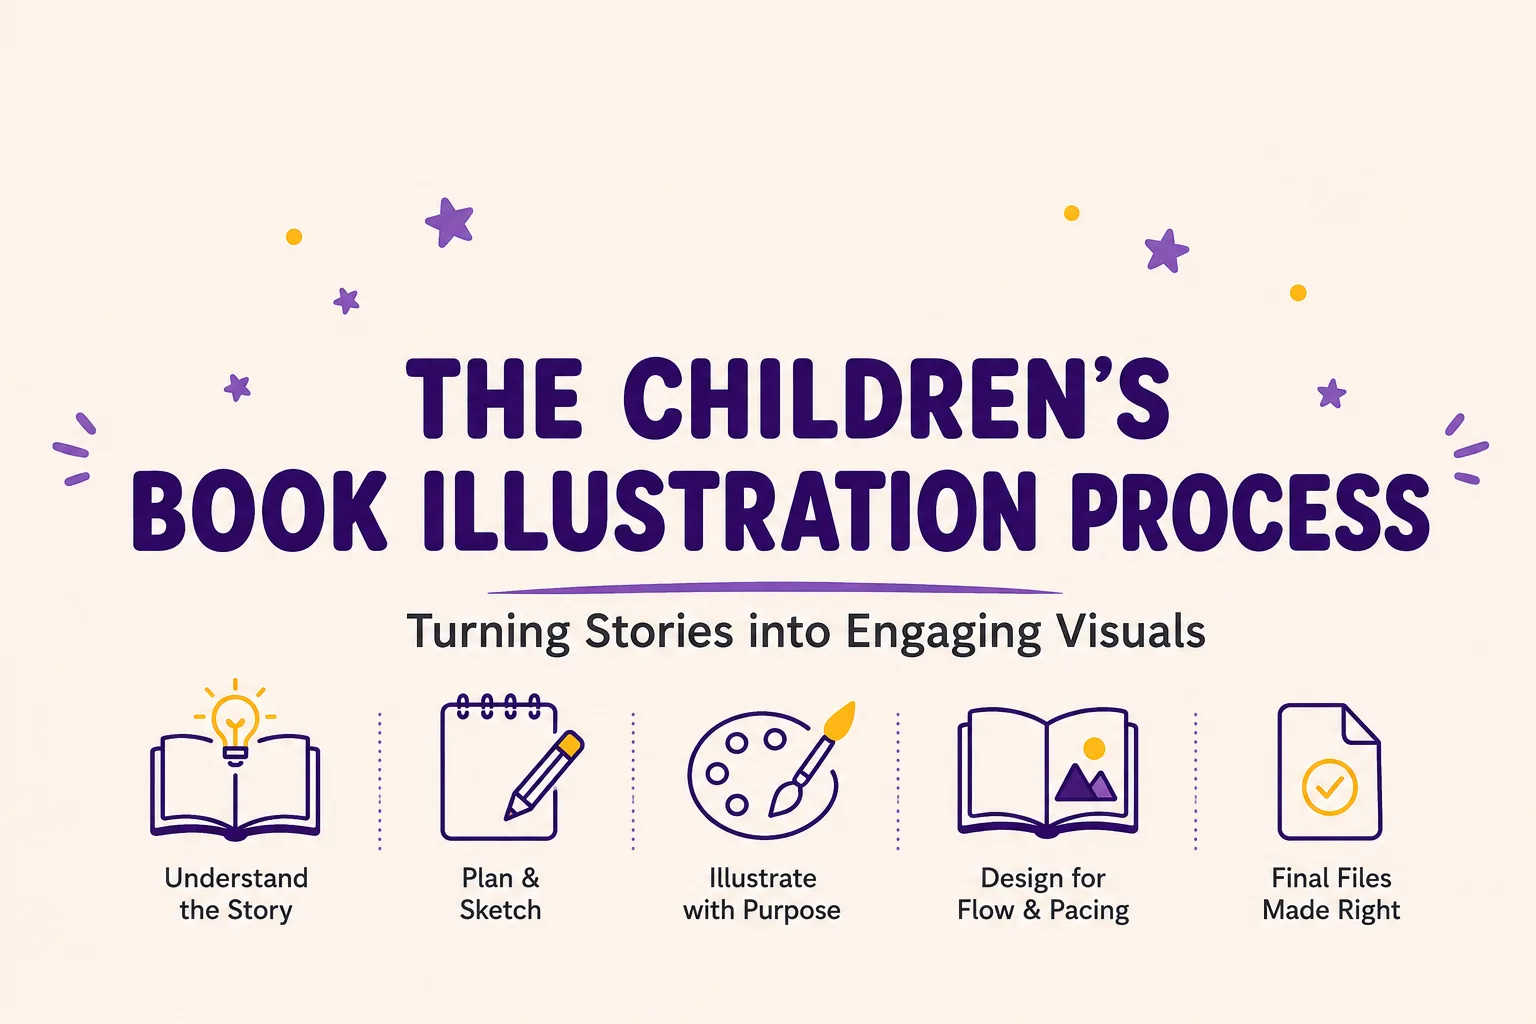
From Manuscript to Print-Ready: The Production Walkthrough
Stage 1: Manuscript pagination. Count your manuscript's total words, aiming for 200 to 400. Divide the text into spreads, roughly 15 to 30 words per page. Mark natural page-turn points where tension, surprise, or a scene shift occurs, then fill in your book map with text placement, illustration notes, and page-turn cues.
If your manuscript still needs work, how to write a children's book covers structure and word count first, and our ghostwriting service can take you from concept to a finished draft. A proofreading pass before you lock in page count is far cheaper than fixing text after the file is laid out.
Stage 2: Trim size and layout setup. Choose your trim size based on illustration orientation and platform support, then set up your document with the correct trim size, bleed, and margins, inner margins wider than outer, typically 0.375 to 0.5 inches.
Stage 3: Design and illustration. Place front matter first, then build story spreads one at a time as single visual units. Vary layout patterns for rhythm, keep text and art within the safe zone, and extend background art to the bleed line on full-bleed spreads. Canva suits creators new to layout or working on a budget; Adobe InDesign suits creators who want precise margin and bleed control and advanced typography. Both produce print-ready PDFs when configured correctly.
Stage 4: Export and proof. Export your interior as a print-ready PDF, verify settings against the checklist below, upload and run the platform's automated review, then order a physical proof and check it for gutter issues, margin problems, colour accuracy, and page-turn flow before final corrections.
Print-Ready Export Checklist
Trim size matches your platform's supported sizes exactly
Total page count is correct (32, or another multiple of 8) and divisible by 2
Bleed set to 0.125 inches on outer edges (larger for IngramSpark hardcover) where full-bleed art is present
All important text and art sits within the safe zone, at least 0.25 to 0.5 inches from the trim edge
Gutter margin is wider than outer margin, 0.375 to 0.5 inches or more
Images exported at 300 DPI or higher
All fonts embedded in the PDF
Colour space set correctly for your platform (verify current guidance)
PDF exported as a single document, pages in correct reading order
Front matter, story pages, and back matter sit in their correct positions
No blank pages where content should be, and intentional blanks are genuinely blank
File passes the platform's automated review
Physical proof copy ordered and reviewed
Expert tip: export at 300 DPI with fonts embedded and bleed included, then order a physical proof before publishing. Digital review tools catch file errors, but only a printed proof reveals whether text disappears into the spine.
Common Mistakes and How to Avoid Them
Starting the story on page 1. Leaves no room for front matter. Fix: start on page 4 or 5.
Text too close to the trim edge or gutter. Gets cut off or swallowed by binding. Fix: respect the safe zone and gutter margin on every spread.
The same layout pattern on every spread. The book feels flat. Fix: vary full-bleed, vignette, spot, and panel intentionally.
Word count too high per page. Illustrations can't breathe. Fix: aim for 15 to 30 words per page, 200 to 400 total.
Skipping the proof copy. Gutter and margin problems stay invisible until copies are in hand. Fix: always order and review a physical proof.
Choosing an unsupported trim size. The file gets rejected or needs full reformatting. Fix: verify platform-supported sizes before layout starts.
Quick Reference: Key Picture Book Format Specs
Standard page count: 32 pages (multiples of 8: 24, 32, 40, 48)
Story spreads available: roughly 12 to 14, after front matter
Word count: 200 to 400 total, 15 to 30 words per page
Standard bleed: 0.125 inches (larger for IngramSpark hardcover)
Safe zone: at least 0.25 to 0.5 inches inside the trim edge
Gutter margin: 0.375 to 0.5 inches or more, wider for thicker books
Safest square trim size: 8.25 to 8.5 inches
Image resolution: 300 DPI minimum, print-ready PDF with embedded fonts
What Comes Next: Getting Your Picture Book Ready for Publication
Format solves the structural problem, but it's one piece of getting a book into readers' hands. Weighing cost between traditional and self-publishing? Our breakdown of hybrid publishing costs for children's books compares the paths. Longer illustrated fiction past the 32-page count follows the same page-mapping logic at a larger scale; our fiction ghostwriting service can help if the manuscript itself still needs writing.
Once the book is ready, an author website gives it a home online,book promotion support gets it in front of readers, and a short book trailer does real work on social media. Some creators also add audiobooks as a second format, especially for books with strong read-aloud rhythm, exactly what the pacing work above builds toward.
Conclusion: From Manuscript to Print-Ready
Picture book format is a production craft with clear, learnable rules. The 32-page standard, trim size, bleed and margin discipline, and page-turn pacing aren't creative constraints bolted onto your story; they're the structural framework that makes a book look and feel professional.
With the page-by-page map, platform comparison table, and export checklist above, you can move from a finished manuscript to a print-ready file with real confidence instead of guesswork. Download the book map template, open your design tool, and start paginating today. Order a proof copy before you publish; it's the single best investment you can make in your book's quality.
Ready when you are
Let's bring your children's book to life.
From a first idea to a finished book children adore, we are with you at every step. Tell us about your story and we'll reply within one business day.
Start Publishing →